
The information here is intended to help painters and artists get the best results they can when painting True Fire™ on their own projects. For detailed instructions on painting realistic fire, we recommend that you watch Mike Lavallee’s “Secrets of Airbrushing True Fire” DVDs.
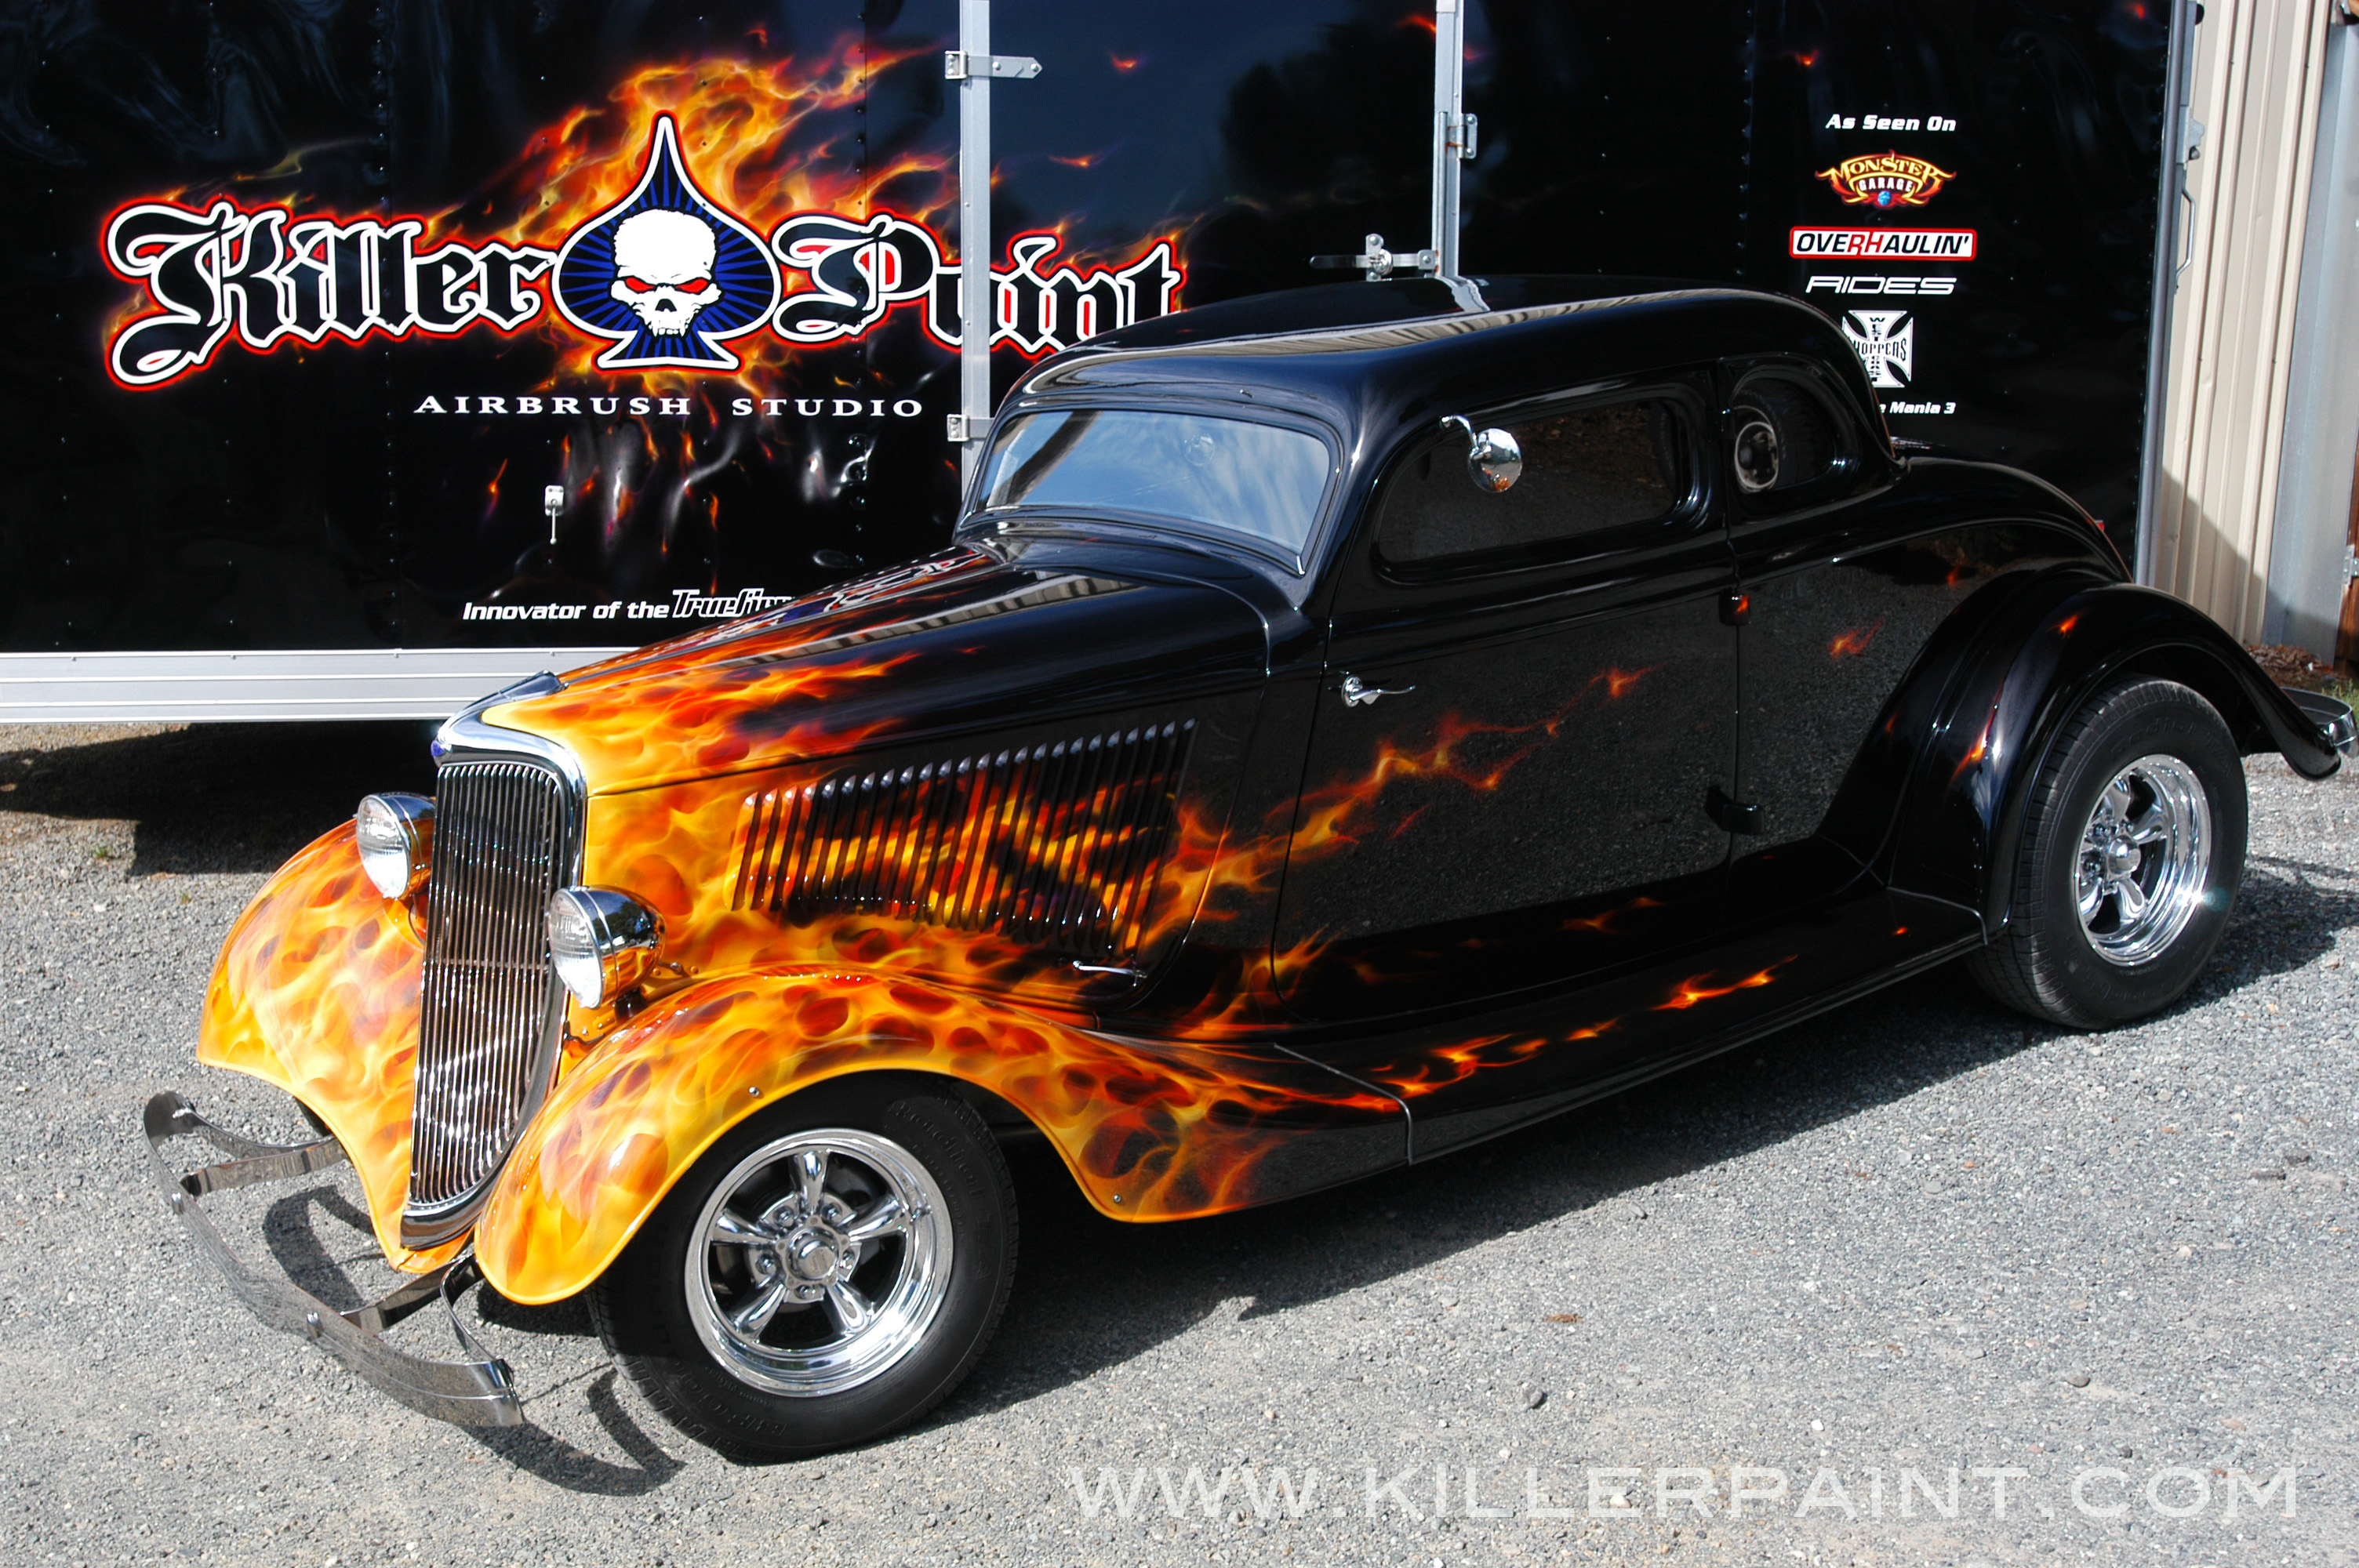 The technique for painting True Fire™ has been around for many years now, and yet it is still very much in demand.
Since the first “Secrets of Painting True Fire™” DVD was released, custom painters the world over now use this method to paint realistic fire and flames on their own works. Unfortunately, not all artists have the same level of success doing so.
While there are many keys to creating believable and eye-catching fire jobs, there are probably even more pitfalls that might keep an artist/painter from achieving the results they could have.
The first step toward success on the path to painting flames is to know as much as you can about what you are trying to paint. Without a firm grasp on your subject matter, you could be starting off on the wrong foot.
Understanding Fire-
Every person has seen fire, and recognizes it when they see it. As such, an artist who intends to paint realistic fire does know what flames look like, and might believe they have a full understanding of it when they attempt to paint it.
Unfortunately, having simply seen fire doesn’t mean that someone can always recreate it in paint accurately or realistically.
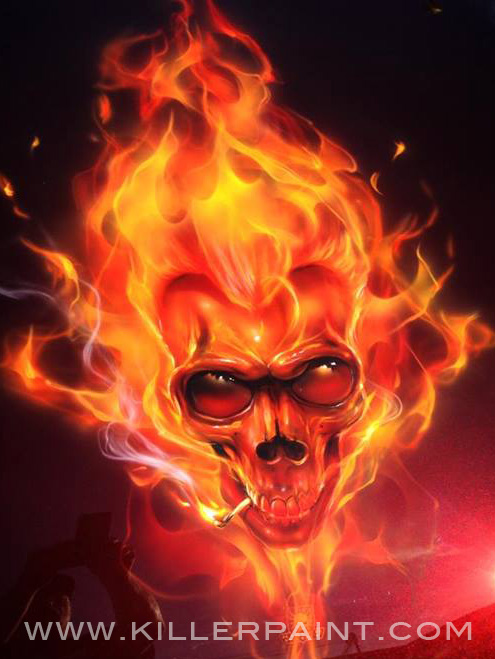
Conceptually, fire is very simple. However its appearance can be very complex from an artistic standpoint. It can appear in many forms. From deep, smoldering flames, to wildly raging infernos, the shape, color and movement will all vary, depending on the kind of fire. The size or intensity of the flames, the temperature of the fire, as well as air flow or other movement can all affect how a given fire’s flames appear.
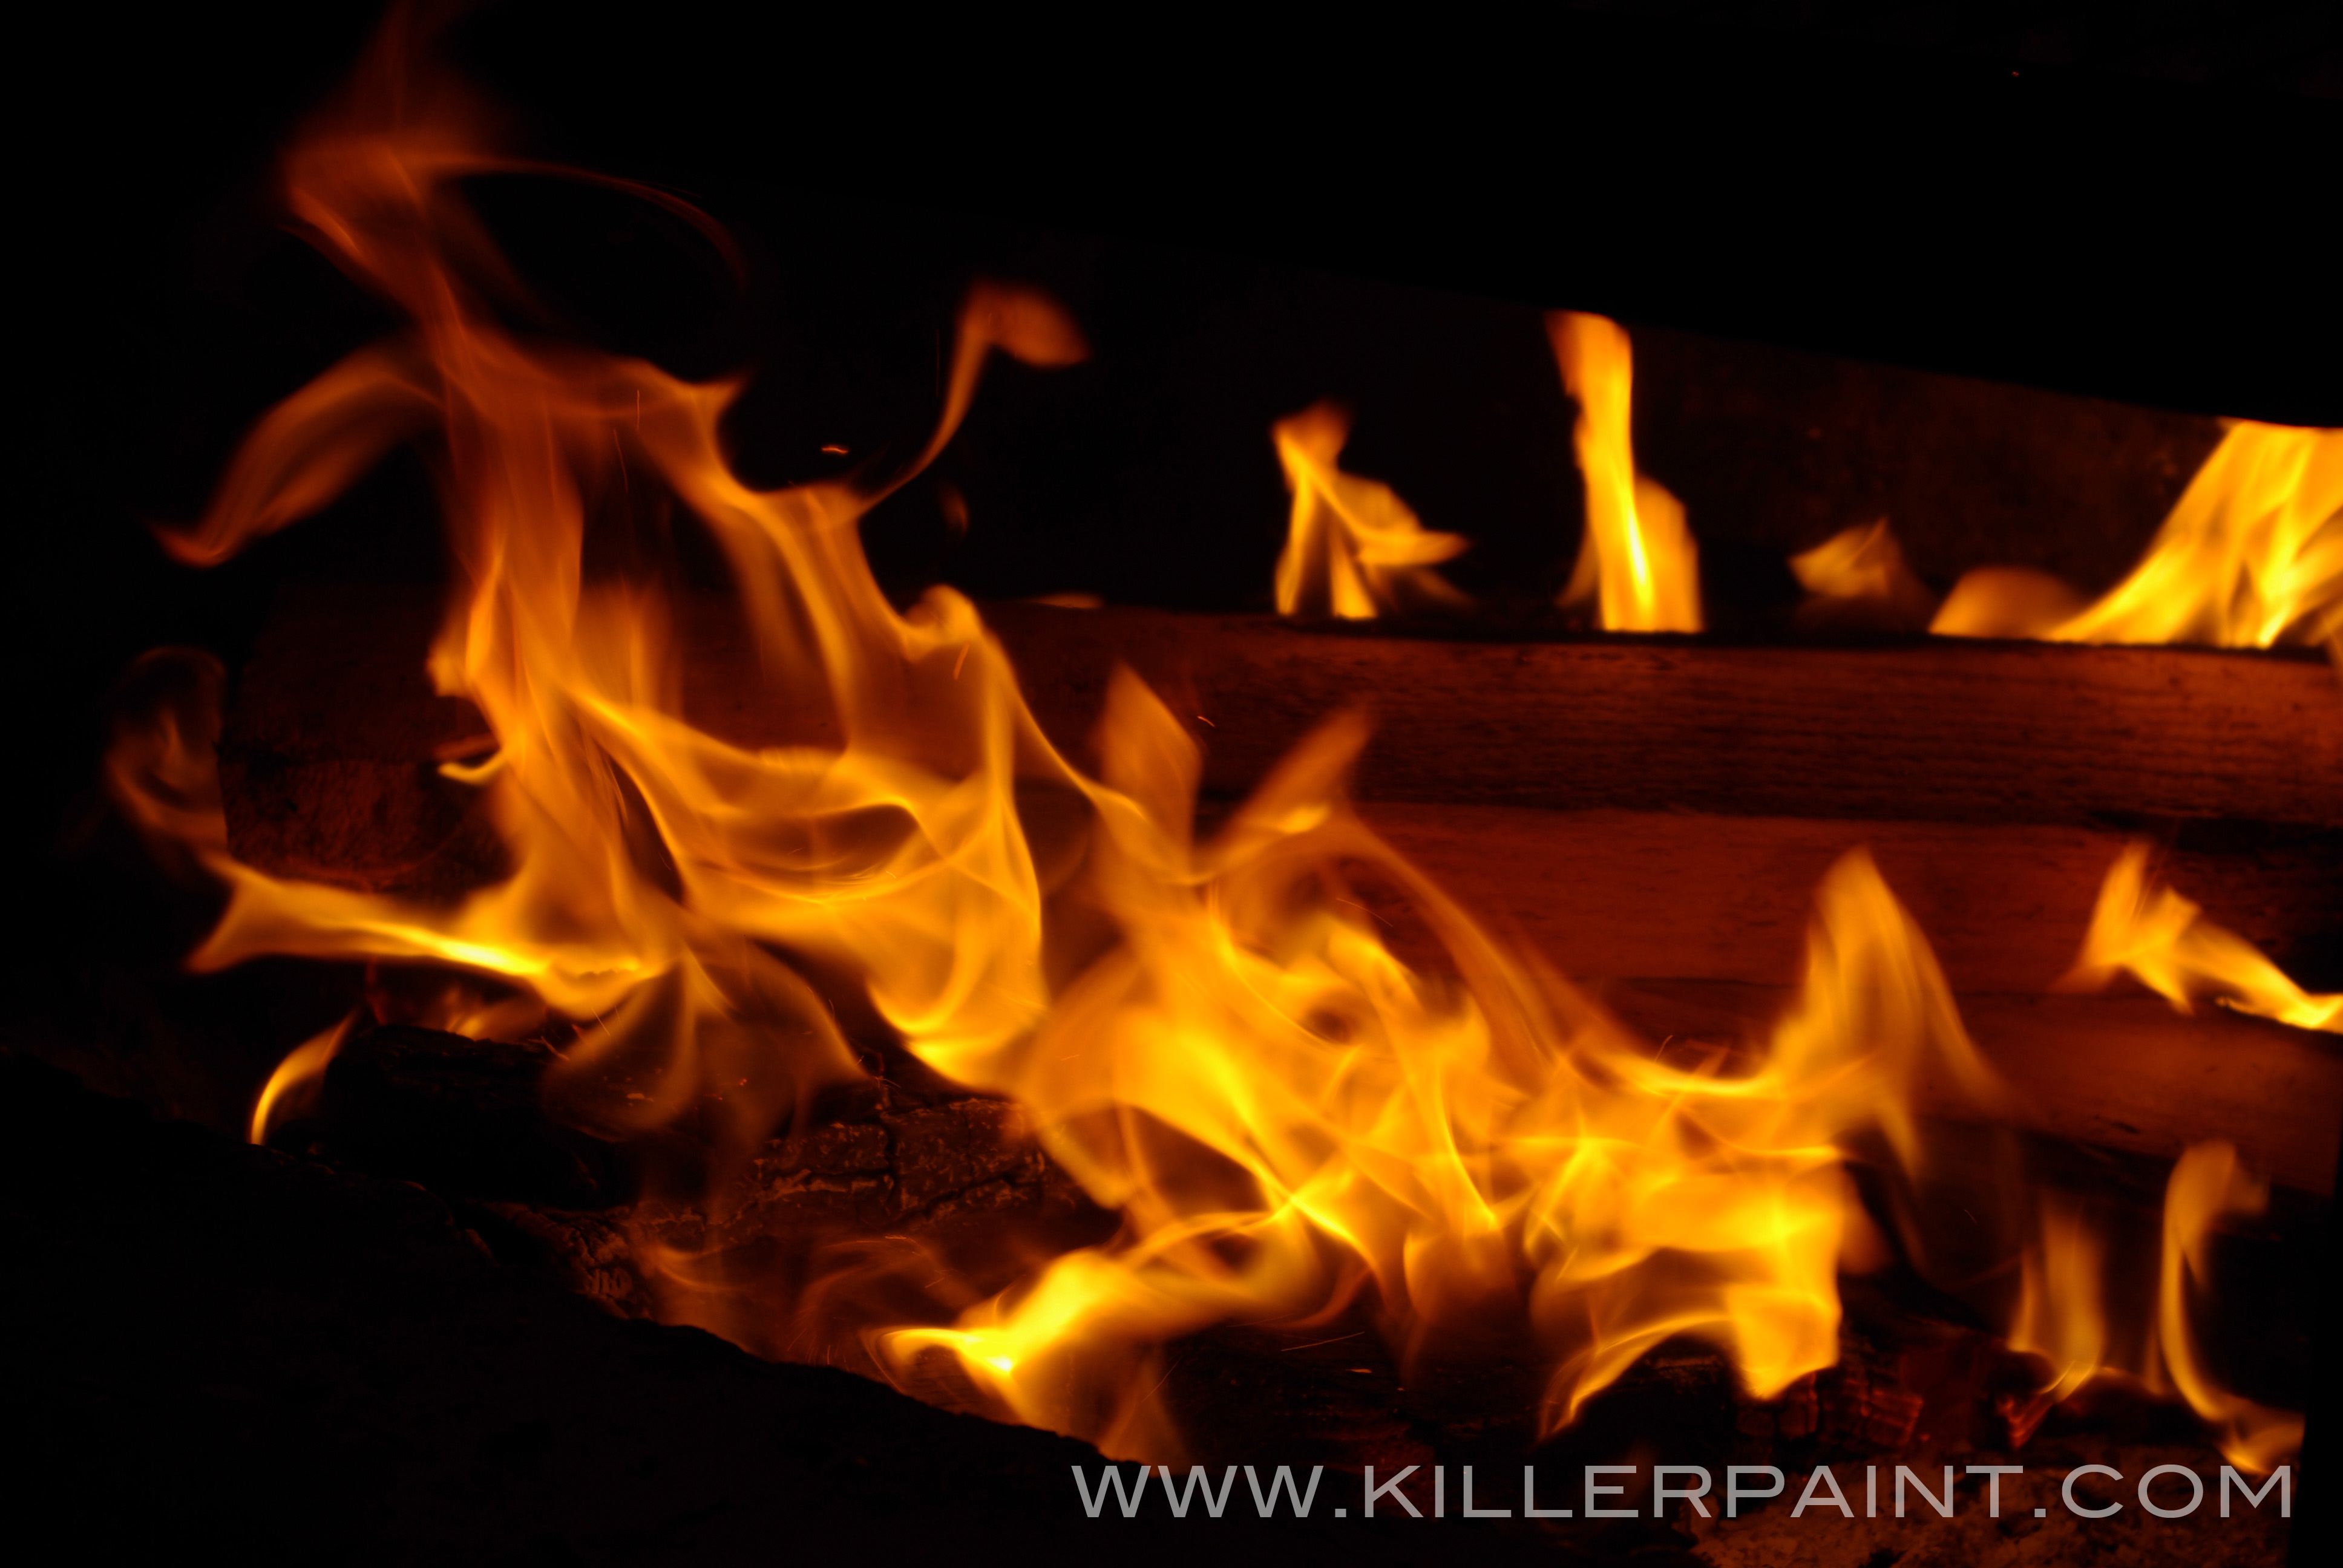
That is why it is important to collect many images of actual fire to use as reference before attempting to paint flames.
Study the pictures, not simply to replicate the image, but to understand how the colors and shapes come together. How they flow. Where the colors are dense, or where they are hazy, and so on. Trying to paint fire based off of one’s memory, or idea of fire, and not how it actually appears, can make things way more difficult than they need to be.
Obtaining Reference Images-
There are many ways to get images of fire to use when painting realistic flames. The easiest, and most powerful method is via the internet.
Image searches on search engines like Google can yield wonderful results, but sometimes a lot of digging is required to find truly useful pictures. Try different combinations of keywords to find pictures that might not come up with simple search for “fire.” For example, a search using a term like “grease fire” or “forest fire” will typically get much more interesting results.
Be sure to save any good images you find, so you won’t have to go searching for it again later. Try multiple search engines, too. Results from two different sources can be surprisingly different.

Pinterest boards are a good way to find collections of related images
Social media image sites like Pinterest and Instagram are also good resources to find resource images.
Pinterest is especially effective because users organize their images into categories, so if you find one good image there, you are likely to find others related to it in the same place.
You can even “pin” them into your own collection, and you will be able to access them from any computer or mobile device with an internet connection whenever and wherever you might need them.
Taking Your Own Photos-
Another option of course, is to photograph some fire yourself. This is a difficult proposition for a number of reasons:
The first is safety. Fire is extremely dangerous, and you should only photograph fire in safe situations. Use extreme caution at all times around open flames.
This photo might look okay at a glance, but when you zoom in, it is actually fairly blurry. (click to enlarge)
The other problems are technical. Flames are notoriously difficult to photograph well. Fire is constantly moving rather quickly, so many images will come out blurry, especially in low-light situations where cameras take longer exposures. So setting up a camera on a tripod, and adjusting your camera’s settings can help to improve the results somewhat.
Even if the photos don’t turn out perfectly, they can often still be useful. You can still get a good idea of the brightness, color range, and movement of fire from a picture, even if it is a little bit blurry.
That is really all you need, after all. You are going to want to create your own flames when it comes to painting anyway.
Never Stop Learning-
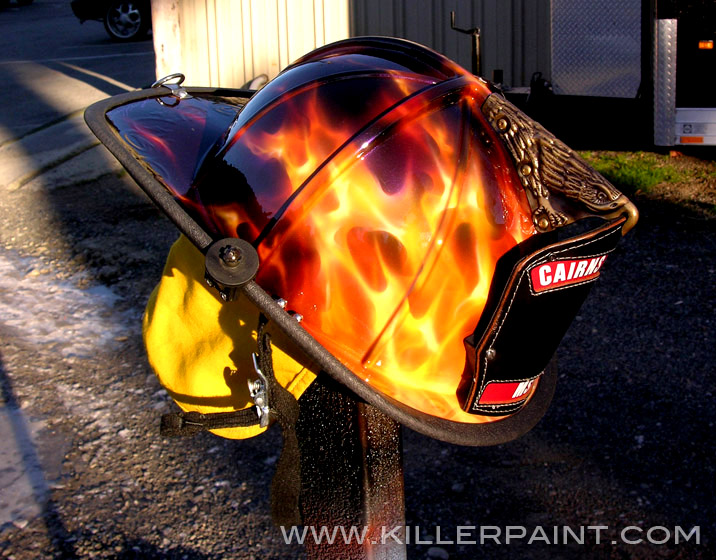 The more pictures of fire and flames that you have, the more options and ideas you will have available to suit the specific type of look you want to achieve.
After getting the look of painting fire correctly under your belt, you will eventually need to look at your reference photos less and less as it becomes more intuitive for you. This can take a lot of practice over a long time, though.
Even then, it never hurts to go back and look at your fire reference images. You never know when you will spot something new that you might not have realized before.
We hope you found this information useful. You may also wish to read True Fire Basics, Part 2 “What You Throw Down,” or True Fire™ Basics, Part 3: “Your Sword vs. Your Shield” or True Fire™ Basics, Part 4 “Square Pegs in Round Holes” on our website. We hope to have even more posts about painting and True Fire™ in the future.
If you are interested in purchasing DVDs from the “Secrets of Painting True Fire™” series, click here.
Artool’s True Fire™ Freehand Templates, used in painting realistic fire, can be purchased from Coast Airbrush here, and the “2nd Degree Burn” templates are here.
Visit Killer Paint’s online gallery here to see more examples of Mike Lavallee’s work.

Let us know in the comments if you have any questions about reference materials for painting realistic fire, or share with us your favorite ways to gather images for inspiration in creating your artwork.
If you would like to contact Killer Paint about working on your project, visit our website, or contact us at info@killerpaint.com
Related Links:
True Fire™ Basics Part 2, “What You Throw Down”: https://www.killerpaint.com/true-firetrade-basics/category/basics-part-2
True Fire™ Basics Part 3, “Your Sword vs. Your Shield”: https://www.killerpaint.com/true-firetrade-basics/category/basics-part-3
True Fire™ Basics Part 4, “Square Pegs in Round Holes” https://www.killerpaint.com/true-firetrade-basics/category/basics-part-4
The Original Killer Paint Facebook Page: https://www.facebook.com/pages/THE-Original-KILLER-PAINT-INC/297040465604
The Killer Paint Website: www.killerpaint.com
True Fire™ Instructional DVDs: http://www.coastairbrush.com/products.asp?cat=227
True Fire™ Freehand Templates: http://www.coastairbrush.com/products.asp?cat=215
