
In case you missed it, you can read True Fire™ Basics Part 1, “Know Your Fire,” on our website by clicking here.
True Fire™ Basics Part 3, “Your Sword vs. Your Shield” can be viewed on our website by clicking here.
The information here is intended to help painters and artists get the best results they can when painting True Fire™ on their own projects. For detailed instructions on painting realistic fire, we recommend that you watch Mike Lavallee’s “Secrets of Airbrushing True Fire” DVDs.
Show Your Colors

There are several layers of color that come together to add depth and realism to True Fire™
When painting realistic fire, the number and types of colors you use in a recipe to paint your flames can make a huge difference in the result.
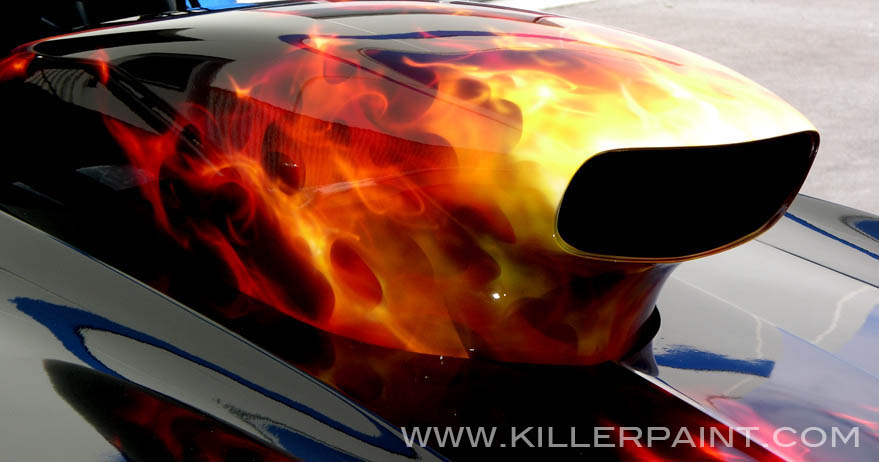
Cutting corners and using too few paint colors and layers can greatly diminish the depth of your flames. Most of the time, when painting realistically-styled flames, you will want to show a range of colors, moving from the deepest colors in the background, brighter colors in the middle-ground, and brightest colors to the fore. The fluid nature of fire can make this tricky to get a handle on, as fire does not tend to have many clearly defined edges.
The flames as a whole can be painted in a number of different color ranges. Blues and greens are popular colors, for instance. Just make sure to get your color recipe down, and test it on a scrap or sample piece before you jump straight to the final job. This gives you an opportunity to avert any unforeseen complications (aka: huge disasters!)
Choose Your Weapons Wisely
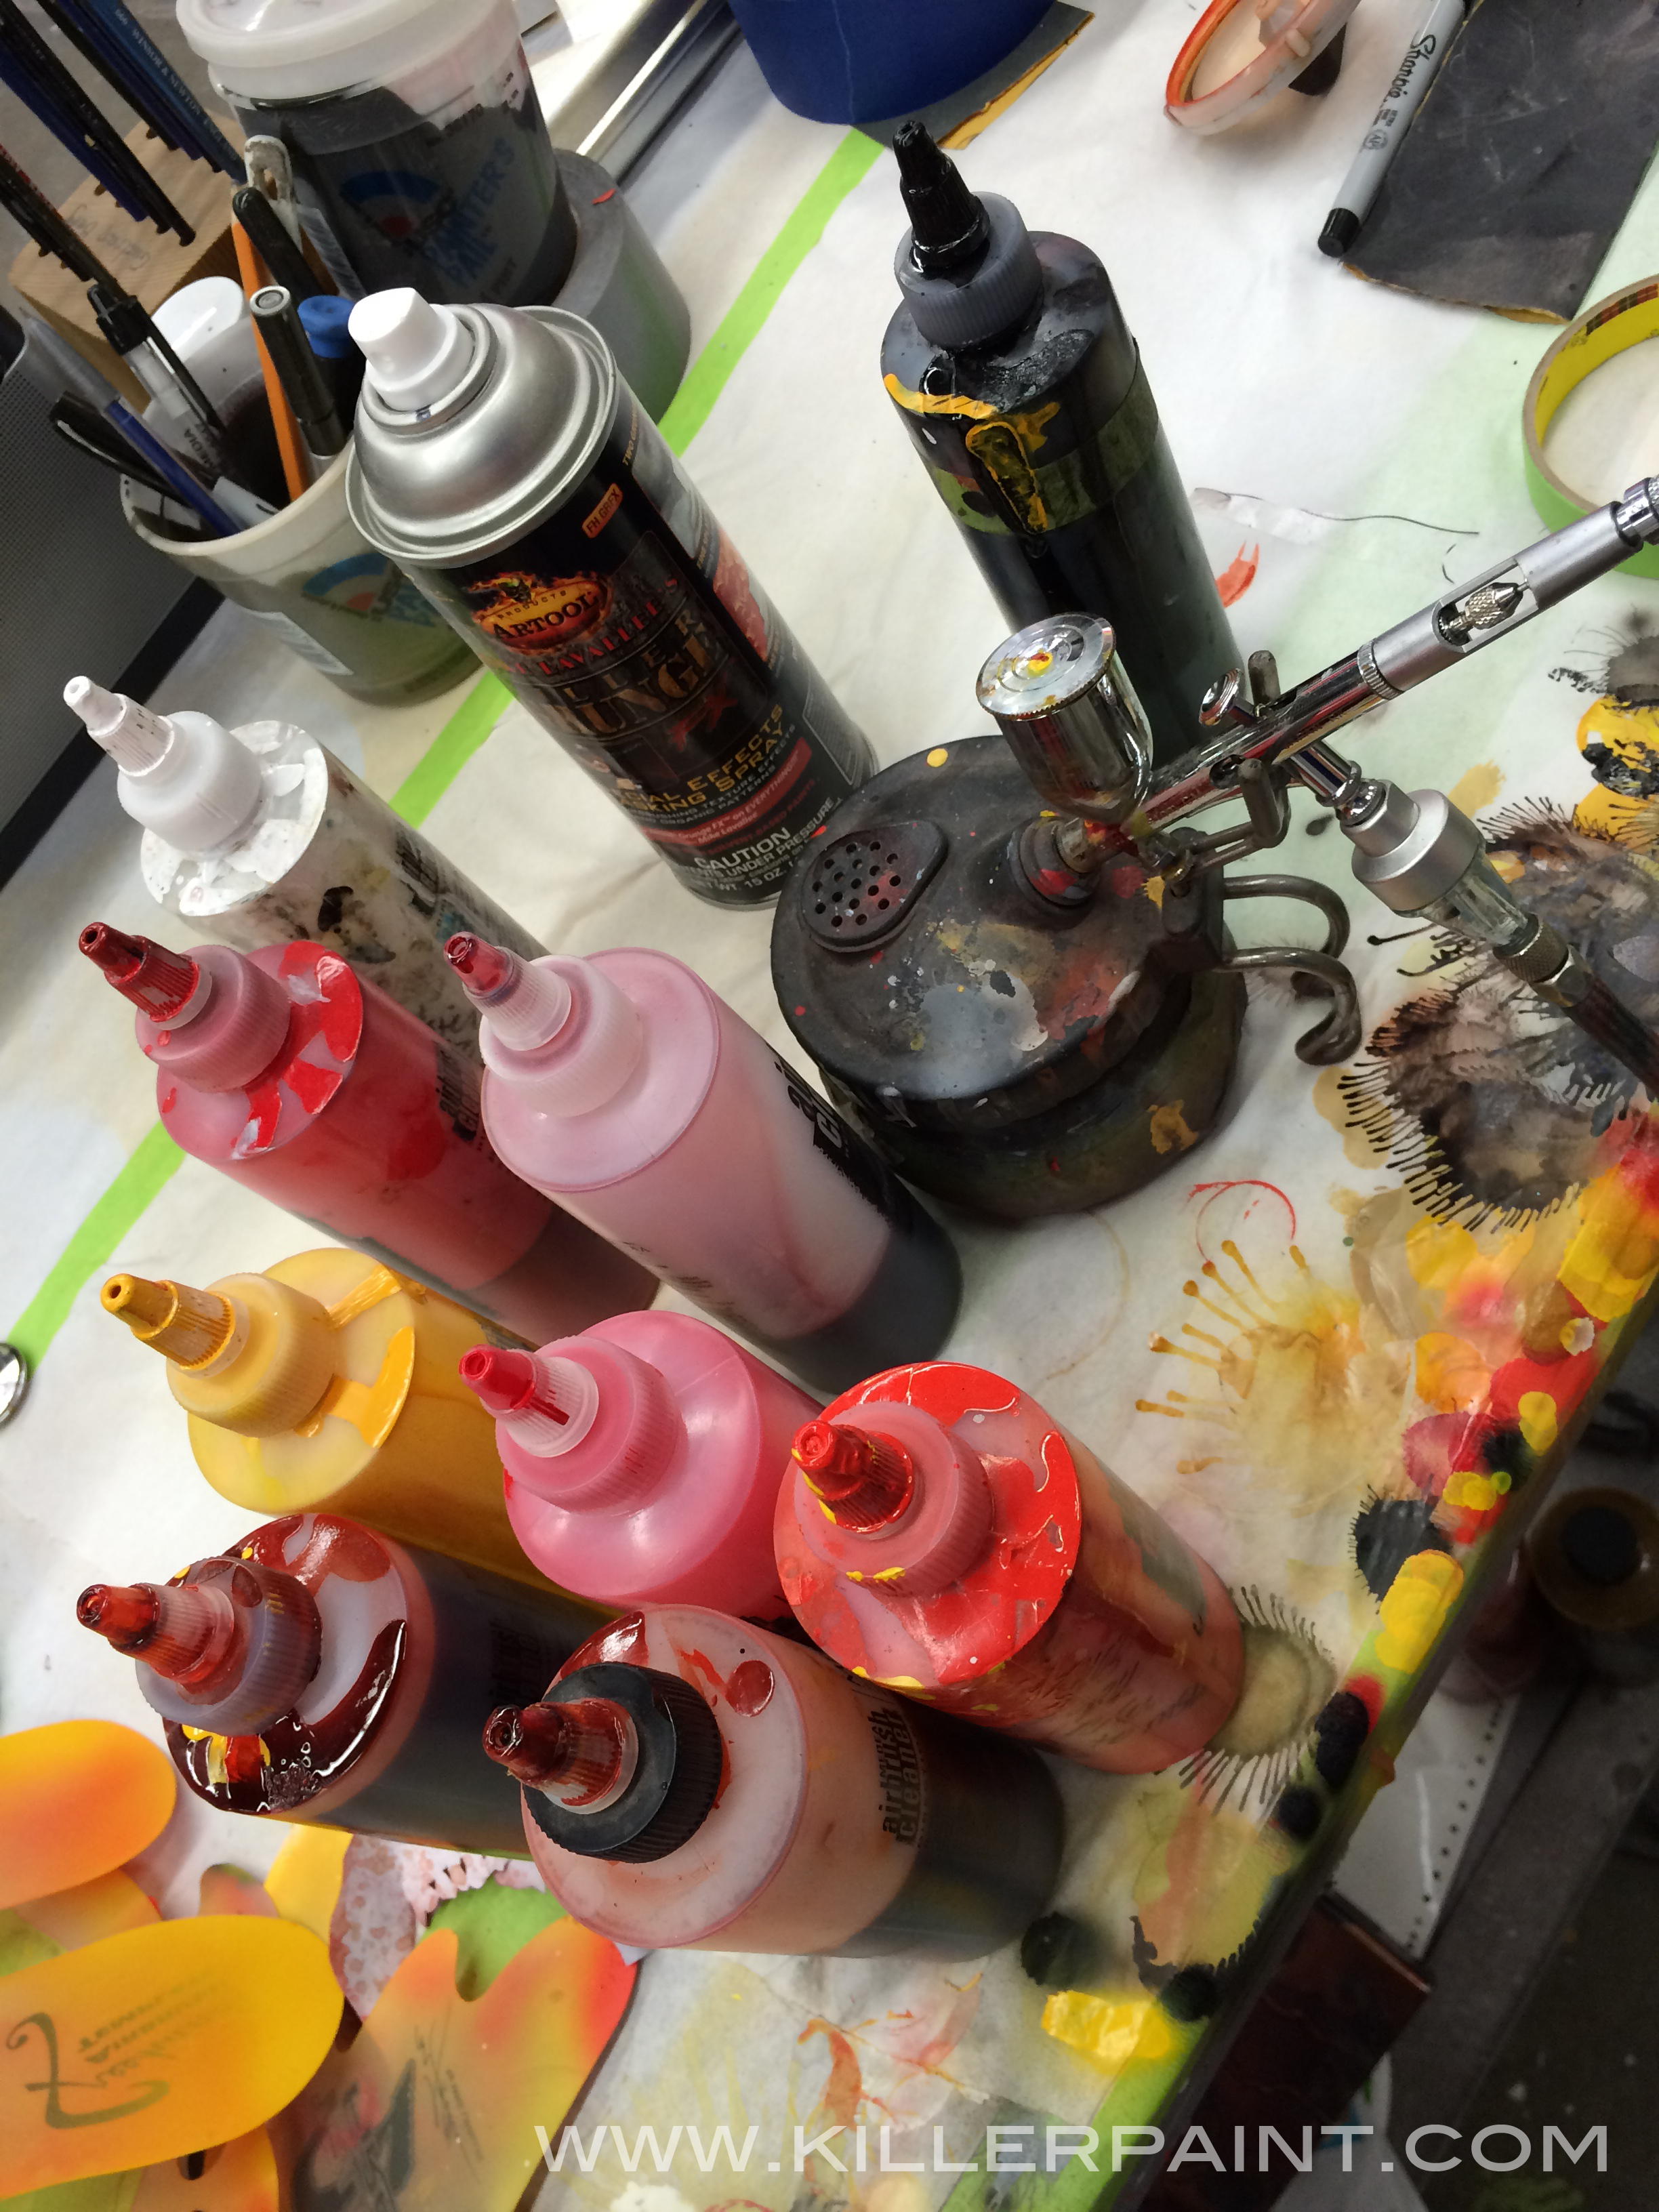 Obviously, the choice of which type of paint to use can have an effect on the outcome of any paint work. At Killer Paint, almost every job is painted using House of Kolor‘s urethane paints. However, regulations in some states and countries limit or prohibit use of urethane paints. This has narrowed painters’ options in the past. Fortunately, advances in waterborne paint technology in recent years have made it a much more versatile option than before. Many artists are having good results using this type of paint as well.
Not every artist or painter can justify using many of the more expensive paints, especially those people who are just getting started learning about True Fire.™ There are paints that range across the price spectrum, but bear in mind that not all paints are created equal.
Whichever brand or type of paint you use, remember that using low-quality paints will make getting a high quality result more difficult to accomplish in the end. So research the paint you want to use before you make the dive.
Background Color is Equally Important-
You can paint flames on almost any surface you choose, but not all background colors will work well. For realistic fire, the general rule of thumb is that black and other darker colors work best. Lighter colors such as white, silver, yellow and so on should be avoided almost entirely. It’s not that it cannot be done, but it is typically far more trouble than it’s worth, and the result may not look so great. Another tactic to consider is that it is sometimes a good idea to adjust the “temperature” (shift more to the red or yellow, etc.) of your flames to suit the color(s) you choose to paint on to achieve the best visibility (or subtlety, if you like) of your fire.
If you are using variant flame colors, then making sure that the fire and background colors look okay together is even more important. Some color combinations might sound like a good idea initially, but end up clashing in the final result. Again, using a test panel to preview your ideas can save a lot of headache in the long run.
Movement and Direction Can Make or Break the Illusion-
Take into account the shape you are working on when determining where to paint your flames
When painting realistic fire on any surface, keep in mind that the flames need to behave as fire actually would on that surface. They should flow and move in a way that compliments the objects they are on- be it a car, boat, mailbox, bowling pin, etc.
On a vertical surface, flames should move upwards, never downward, with only a few exceptions, like dragons for instance, where the fire might be projected from another direction.
On the side of a vehicle, they tend to look best moving front to back, as they would when in motion. The entire point of painting realistic flames is to make them seem as authentic as possible.
…So when in doubt, ask yourself: WWFD? (What Would Fire Do?)
Know how much is too much-
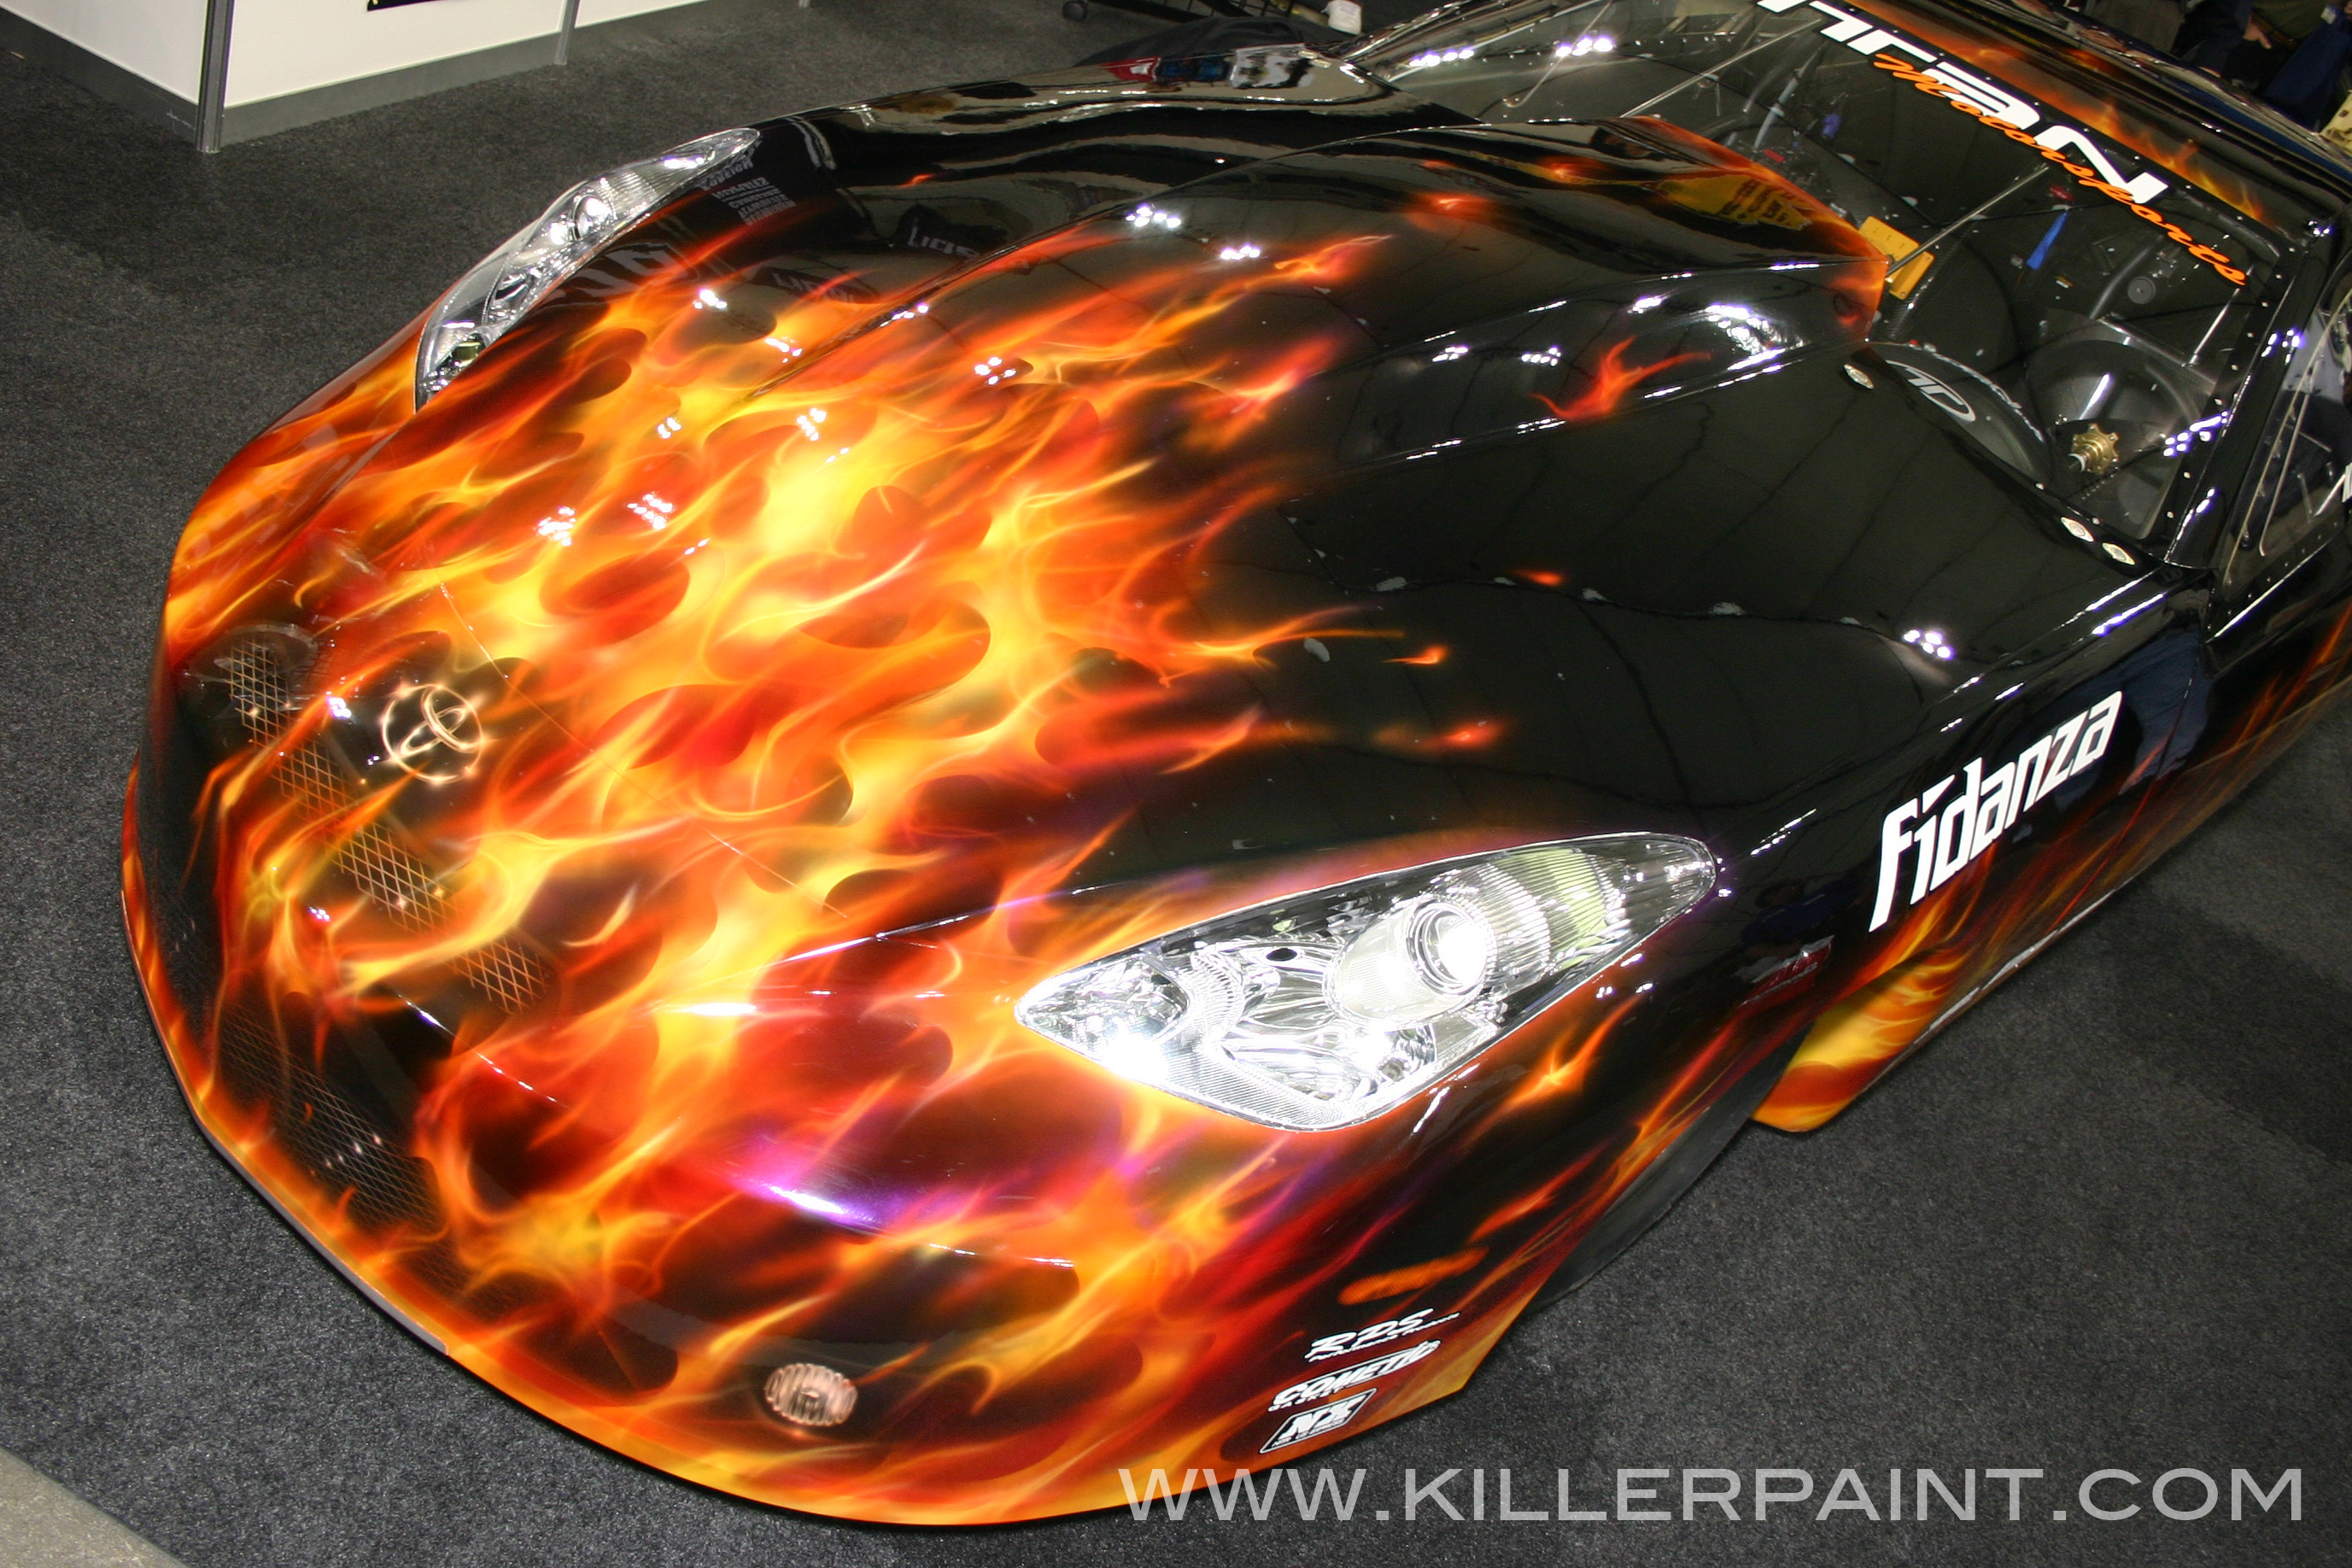
…Sometimes you need more
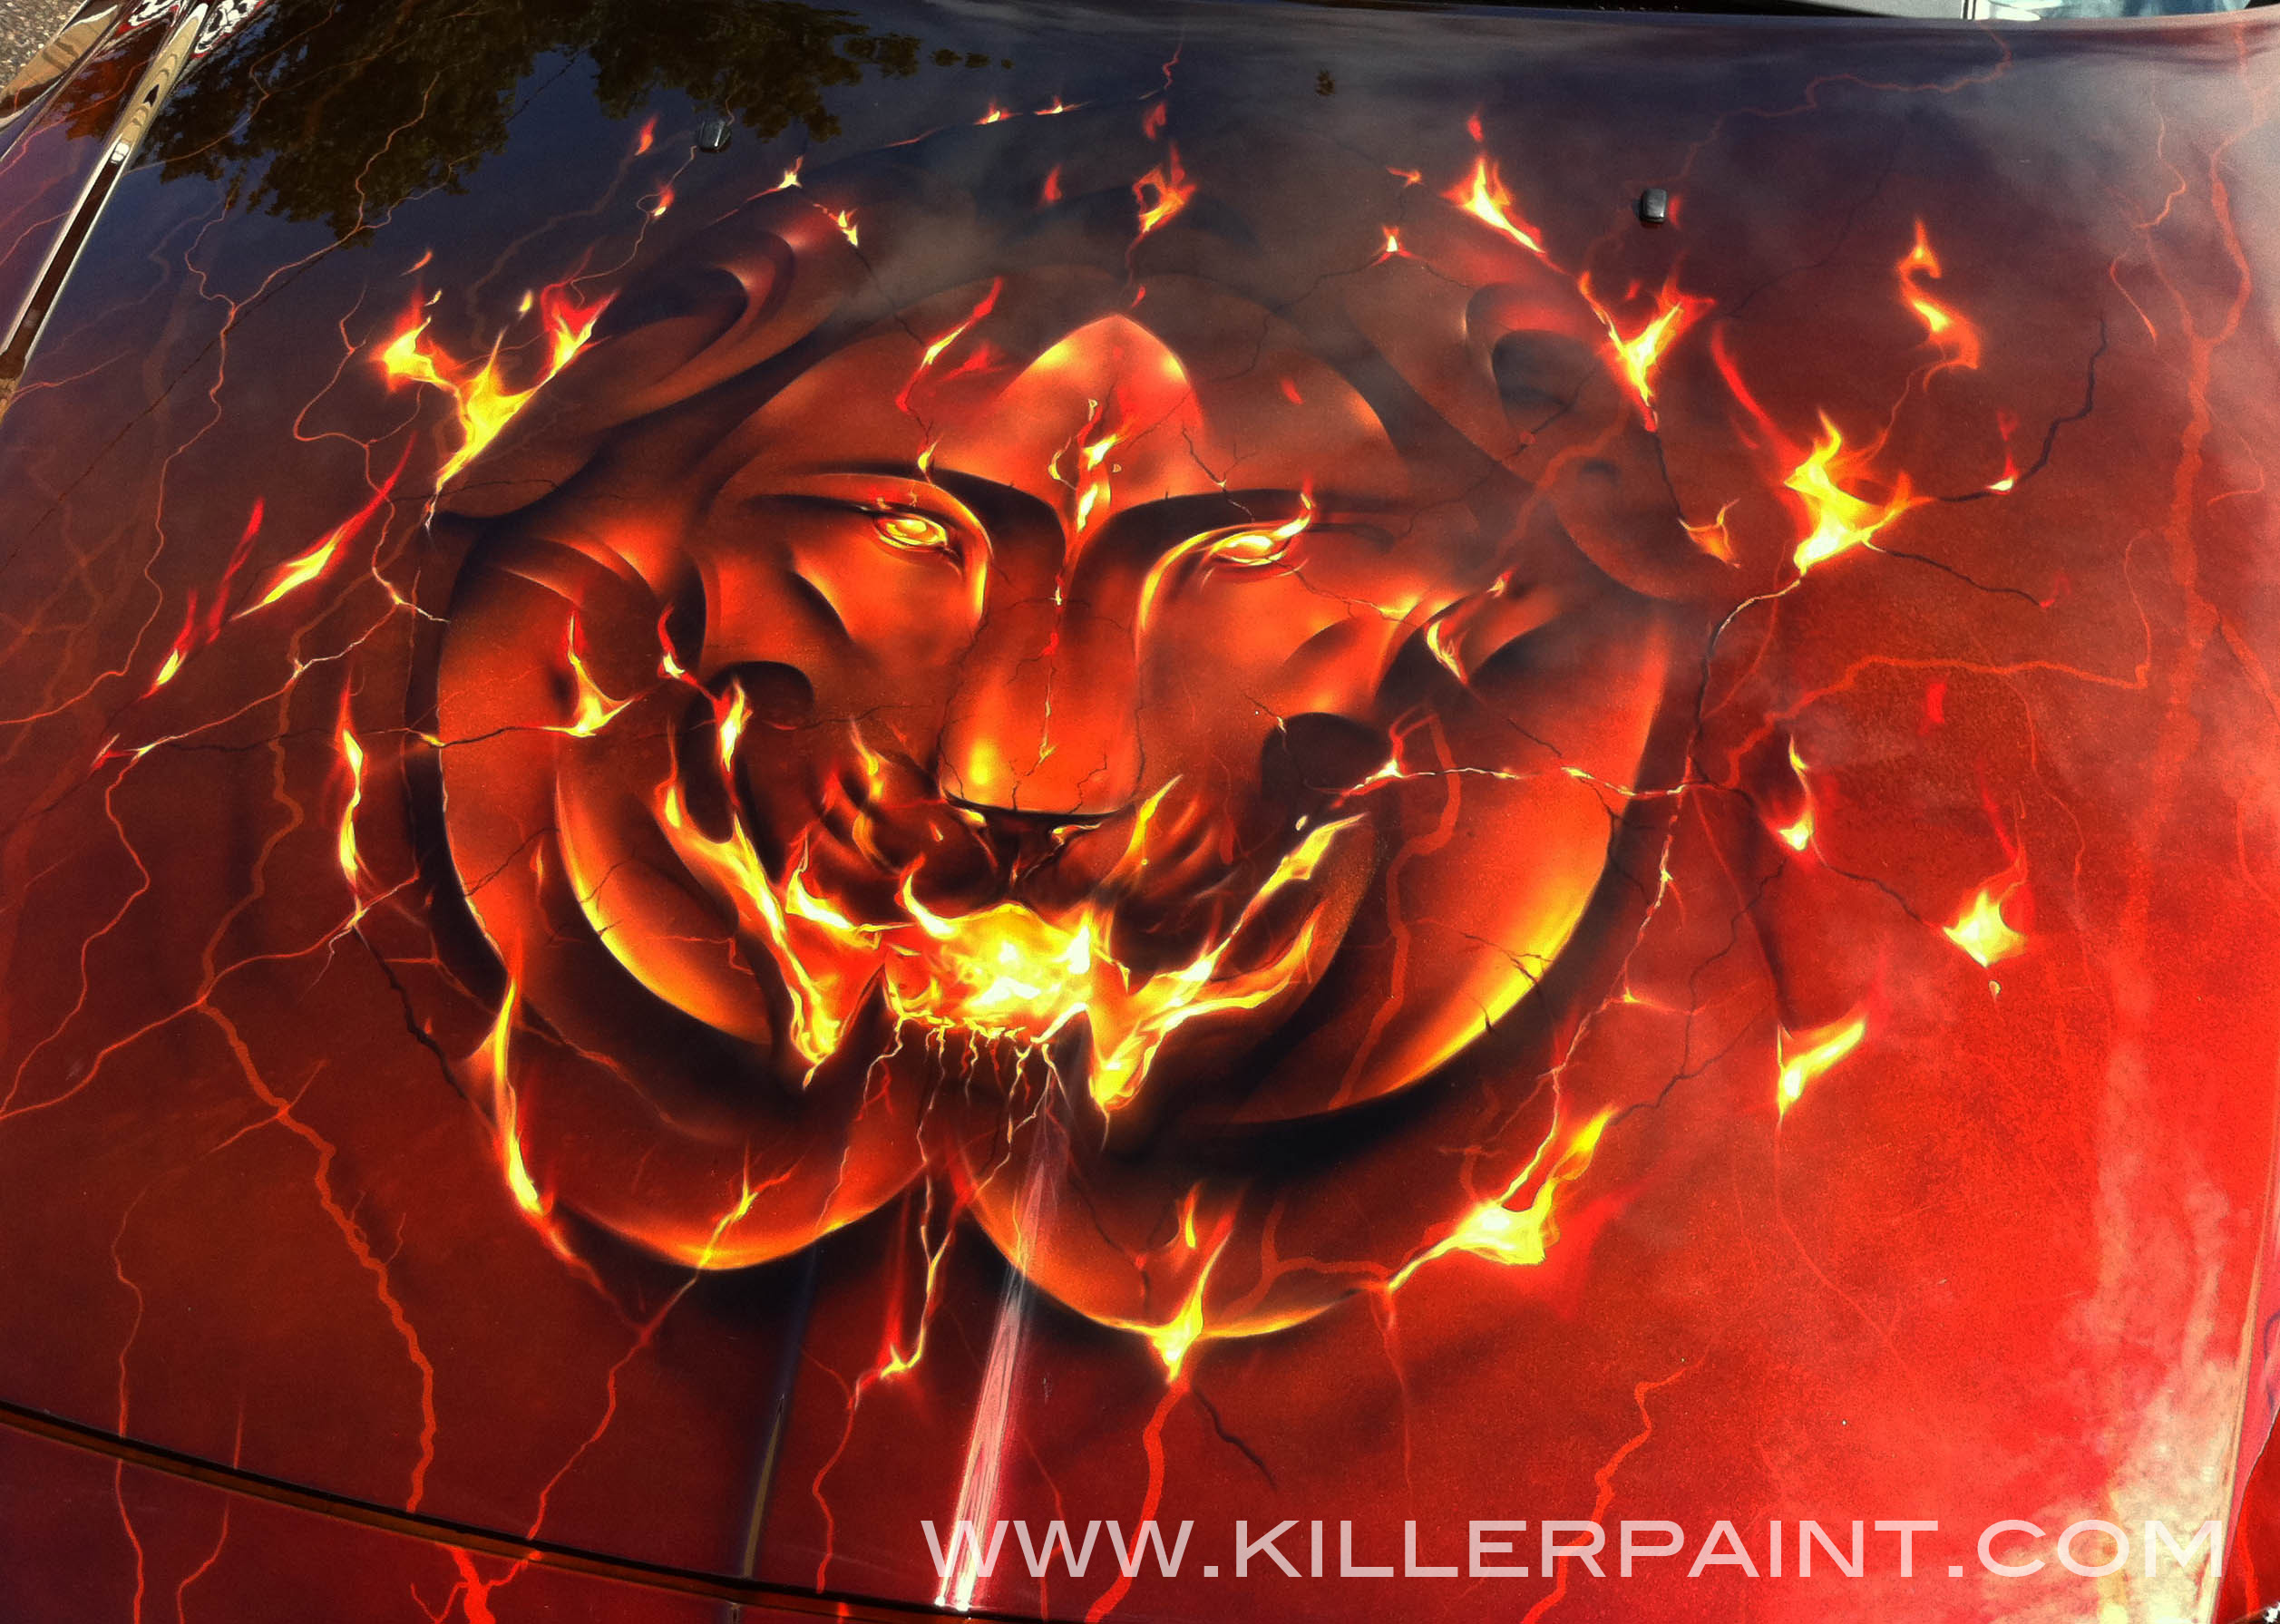
Sometimes a little is all you need…
It is also important to use the right amount of fire for the job. Every new layout will have different requirements. Sometimes just a few licks of flame will be all that you need. Sometimes a solid sheet of flame will look best. It is easy to get carried away and overdo things when it comes to laying down realistic fire. In many circumstances, less is more.
A small amount of fire placed correctly can make a big impact if you let it stand out. There is no easy rule to follow on this one. You just have to learn when to say “enough is enough.”
We hope you found this information useful. We hope to make more posts about airbrush art and painting True Fire™ in the future, so stay tuned! Thanks for visiting!
Update: True Fire™ Basics, Part 3 is on our website!
If you are interested in purchasing DVDs from the “Secrets of Airbrushing True Fire™” series, click here.
Artool’s True Fire™ Freehand Templates, used in painting realistic fire, can be purchased from Coast Airbrush here, and the “2nd Degree Burn” templates are here.

Let us know in the comments if you have any questions about reference materials for painting realistic fire, or share with us your favorite ways to gather images for inspiration in creating your artwork.
If you would like to contact Killer Paint about working on your project, visit our website, or contact us at info@killerpaint.com
Related Links:
True Fire™ Basics Part 1, “Know Your Fire”: https://www.killerpaint.com/true-firetrade-basics/category/basics-part-1
True Fire™ Basics Part 3, “Your Sword vs. Your Shield”: https://www.killerpaint.com/true-firetrade-basics/category/basics-part-3
True Fire™ Basics Part 4, “Square Pegs in Round Holes” https://www.killerpaint.com/true-firetrade-basics/category/basics-part-4
The Original Killer Paint Facebook Page: https://www.facebook.com/pages/THE-Original-KILLER-PAINT-INC/297040465604
The Killer Paint Website: www.killerpaint.com
True Fire™ Instructional DVDs: http://www.coastairbrush.com/products.asp?cat=227
True Fire™ Freehand Templates: http://www.coastairbrush.com/products.asp?cat=215
House of Kolor Official Website: http://www.houseofkolor.com/
