
In case you missed it, you can read True Fire™ Basics Part 1, “Know Your Fire,” on our website by clicking here.
For True Fire™ Basics Part 2, “What You Throw Down,” on our website, click here.
The information here is intended to help painters and artists get the best results they can when painting realistic fire on their own projects. For detailed instructions on painting realistic fire, we recommend that you watch The Secrets of Airbrushing True Fire™ – Part 1 DVD.
When painting realistic fire, it is important to be able to balance the amount of airbrushing you do freehand, versus the amount done with a template or shield. To achieve believable looking flames, it is necessary to mix it up.
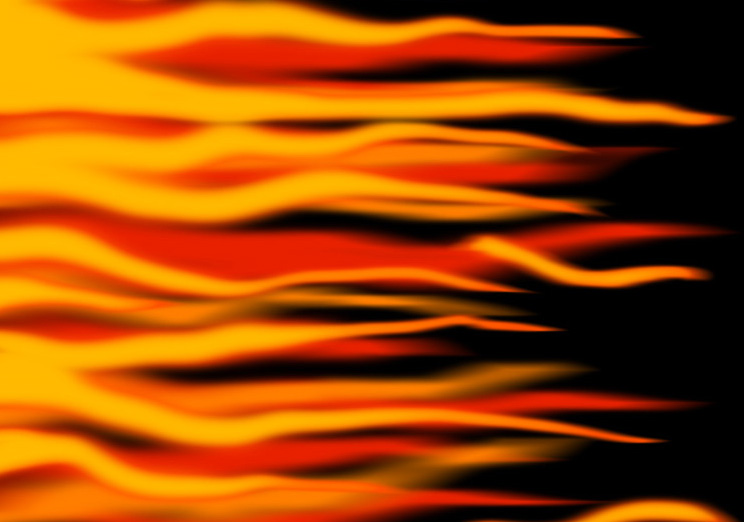
You don’t want flames that look like this. Change it up and give your flames some movement and body
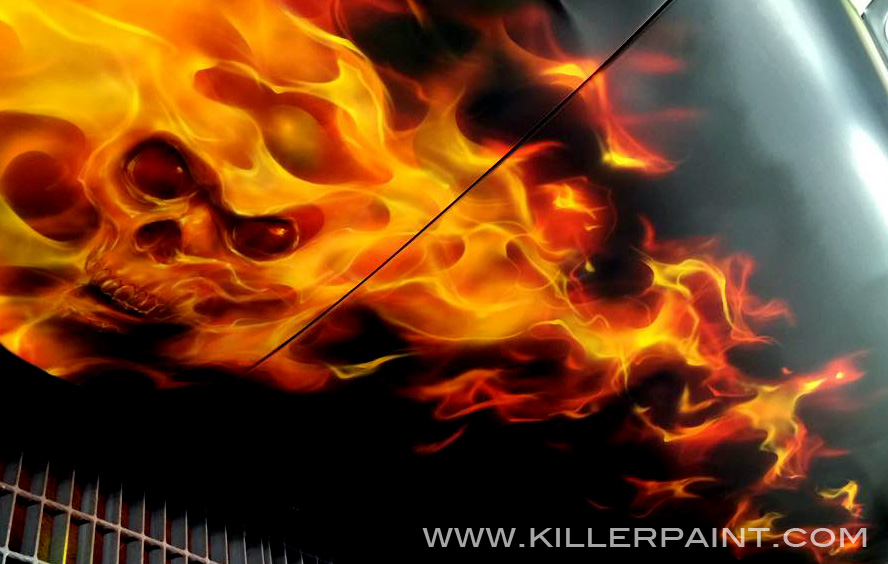
Give Fire Its Shape
If one tries to paint flames entirely freehand and without any templates whatsoever, the results tend to look less crisp, and lacking in fullness and excitement.
At worst, you can end up with what we sometimes call “angel hair” fire- which can look long and stringy, and have very little of the energy that gives fire its distinct character. Using a freehand shield helps add some definition and variation to your artwork.
Some people avoid using templates or freehand shields due to the cost, but investing in the right tools for the job can really make a difference in the final artwork you create. You may be surprised at the improvement.
Too Much of a Good Thing
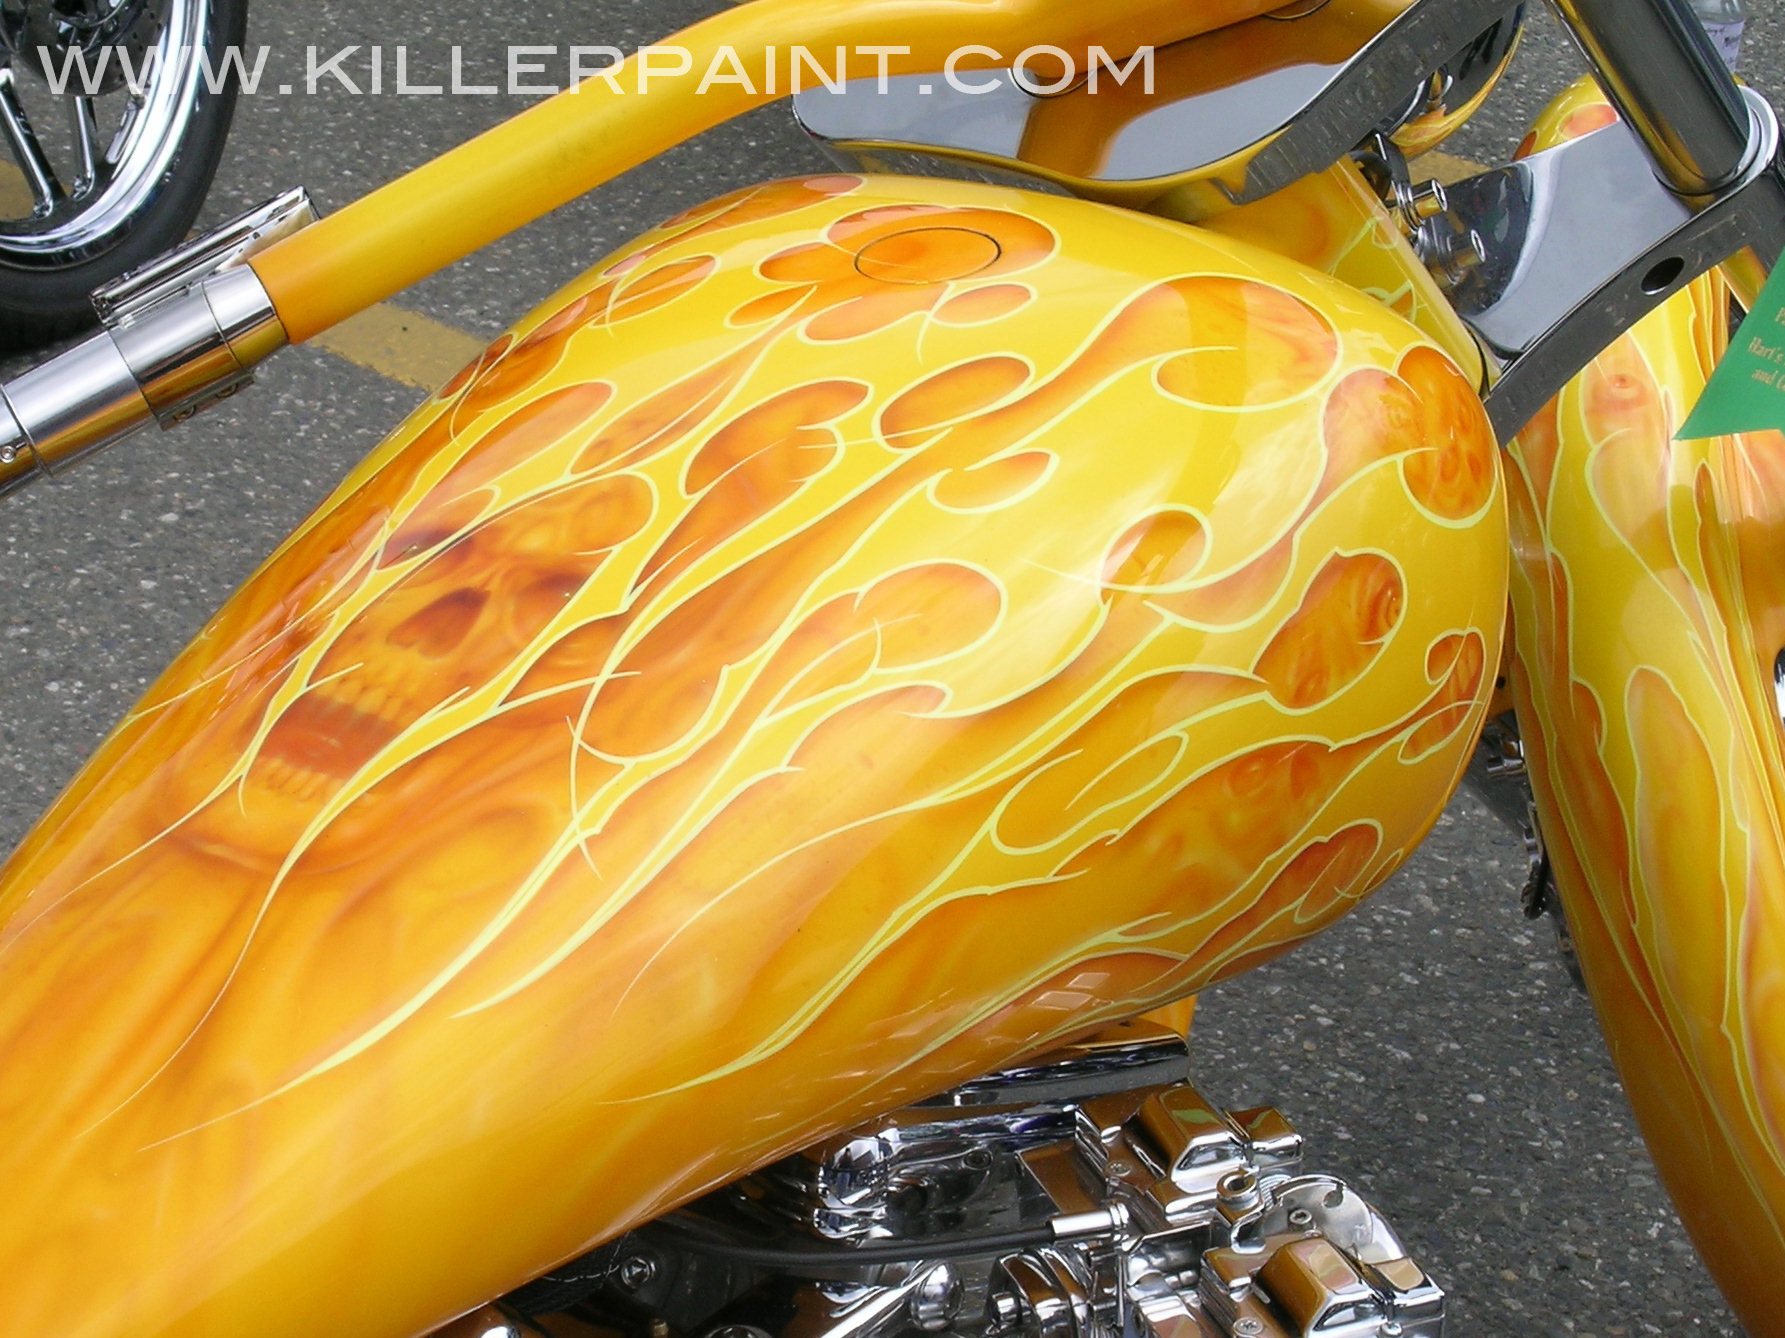
Solid flames are okay… just when you are doing a “tribal” design.
On the other hand, if one relies entirely on templates to build their fire, they are likely to have problems of a different sort.
Too much template usage can have the opposite effect- it gives the flames too much structure, and creating good fire in artwork requires striking a balance.
Overbuilt flames start to look abstracted or stylized, often looking more like layers of tribal blade designs than True Fire™. At the extreme, you can get what we often refer to as “Swiss cheese” fire- appearing like large blocks of fiery colors punctuated with many overly-defined holes in them.
Have a Target- Practice Hitting It
The key to solving both of these problems (and more) starts with something we’ve discussed before- Making sure you Know Your Fire.
 Arm yourself with good reference photos and a studied knowledge of flames that look like the kind you would like to paint (remember, fire has a broad range of appearances.) Then you will be better able to strike a balance in your painting technique.
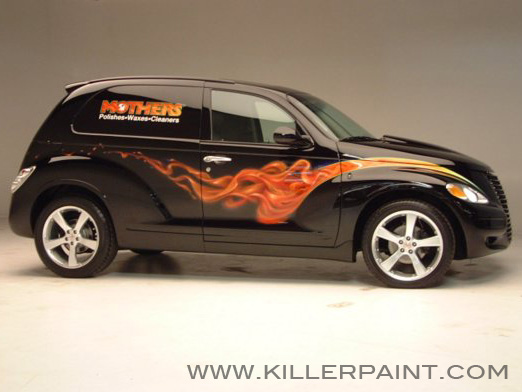
If necessary, practice on scrap panels, or smaller items like mailboxes, bicycle helmets, bowling pins or metal folding chairs, until you feel you have your technique down. Then you can move on to larger projects like motorcycles or cars.
You really don’t want to be working out the kinks in your airbrushing process on something expensive! It’s just a recipe for disaster… Especially if you mess up on something that doesn’t belong to you.
Your Own Twist
It should be noted that this all assumes that you are trying to paint truly realistic fire.
Sometimes stylizing your flames might be desired, depending on the circumstances. Make sure that is your goal from the beginning though, not the result of poor technique.
Some people have their own “brand” of fire, their personal style. If it works for them, more power to them. But if you are doing a job for a customer, make quite sure that they understand exactly what they should expect from you when you use the term “fire.”
We hope you found this information useful. We may have posts about airbrush art and painting True Fire™ in the future, so stay tuned! Thanks for visiting!
Click the corresponding link if you are interested in purchasing The Secrets of Airbrushing True Fire™ – Part 1and/or The Secrets of Airbrushing True Fire™ – Part 2
Artool’s True Fire™ Freehand Templates, used in painting realistic fire, can be purchased from Coast Airbrush here, and the “2nd Degree Burn” templates are here.

Let us know in the comments if you have any questions about reference materials for painting realistic fire, or share with us your favorite ways to gather images for inspiration in creating your artwork.
If you would like to contact Killer Paint about working on your project, visit our website, or contact us at info@killerpaint.com
Related Links:
True Fire™ Basics Part 1, “Know Your Fire”: https://www.killerpaint.com/true-firetrade-basics/category/basics-part-1
True Fire™ Basics Part 2, “What You Throw Down”: https://www.killerpaint.com/true-firetrade-basics/category/basics-part-2
True Fire™ Basics Part 4, “Square Pegs in Round Holes” https://www.killerpaint.com/true-firetrade-basics/category/basics-part-4
The Original Killer Paint Facebook Page: https://www.facebook.com/pages/THE-Original-KILLER-PAINT-INC/297040465604
The Killer Paint Website: www.killerpaint.com
True Fire™ Instructional DVDs:
The Secrets of Airbrushing True Fire™ – Part 1
The Secrets of Airbrushing True Fire™ – Part 2
True Fire™ Freehand Templates: Artool Freehand Airbrush Templates, True Fire Template Set
House of Kolor Official Website: http://www.houseofkolor.com/

1 Trackback or Pingback for this entry:
[…] useful. You may also wish to read True Fire Basics, Part 2 “What You Throw Down” and True Fire™ Basics, Part 3: “Your Sword vs. Your Shield” We hope to have even more posts about painting and True Fire™ in the […]